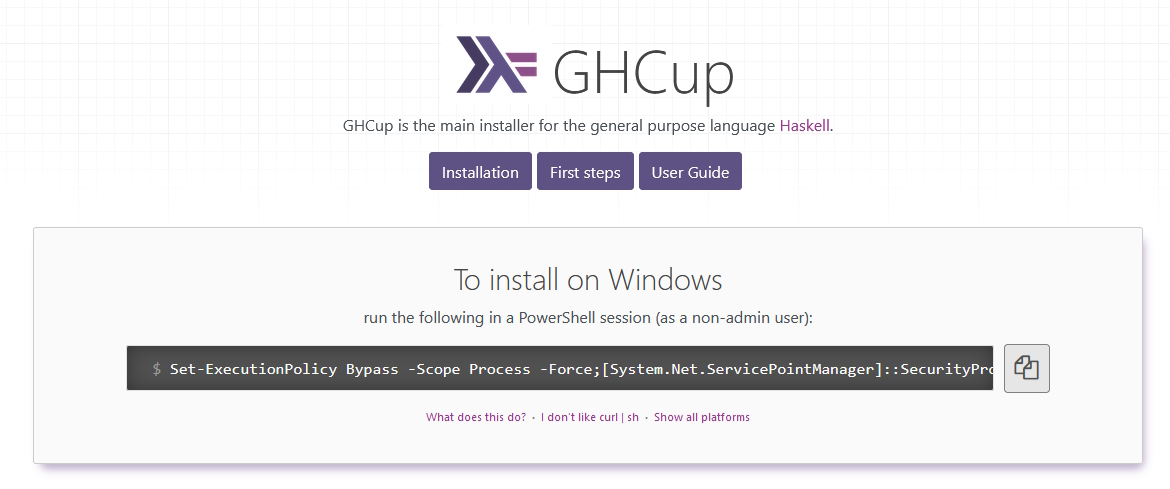
เริ่มโดย ไปที่เวบ https://www.haskell.org/ghcup/
ให้ทำการพิมพ์คำสั่งนี้ ในโปรแกรม powershell (ซึ่งที่หน้า web จะมี widget ที่แสดงคำสั่งอยู่ คลิ้กปุ่ม copy มาวางเองได้เช่นกัน) จากนั้นกดปุ่ม enter
Set-ExecutionPolicy Bypass -Scope Process -Force;[System.Net.ServicePointManager]::SecurityProtocol = [System.Net.ServicePointManager]::SecurityProtocol -bor 3072; try { Invoke-Command -ScriptBlock ([ScriptBlock]::Create((Invoke-WebRequest https://www.haskell.org/ghcup/sh/bootstrap-haskell.ps1 -UseBasicParsing))) -ArgumentList $true } catch { Write-Error $_ }
ตัว shell จะแสดงรายละเอียดขึ้นมาดังนี้
Welcome to Haskell!

This script can download and install the following programs:
  * ghcup - The Haskell toolchain installer
  * ghc   - The Glasgow Haskell Compiler
  * msys2 - A linux-style toolchain environment required for many operations
  * cabal - The Cabal build tool for managing Haskell software
  * stack - (optional) A cross-platform program for developing Haskell projects
  * hls   - (optional) A language server for developers to integrate with their editor/IDE

Please note that ANTIVIRUS may interfere with the installation. If you experience problems, consider
disabling it temporarily.

Where to install to (this should be a short Path, preferably a Drive like 'C:\')?
If you accept this path, binaries will be installed into 'C:\ghcup\bin' and msys2 into 'C:\ghcup\msys64'.
Press enter to accept the default [C:\]:
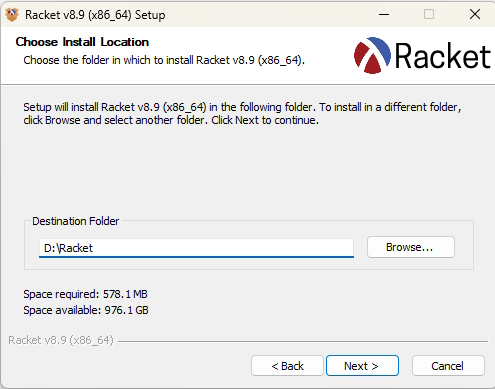
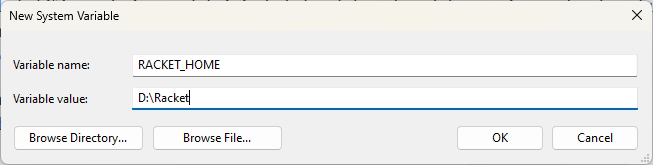
ให้พิมพ์ Directory ที่ต้องการติดตั้งลงไป (ในบทความนี้ ติดตั้งที่ D:\)
ส่วน Cabal จะล้อไปตาม directory ด้านบน ให้กดปุ่ม enter
ส่วน HLS (Haskell Language Server) โดย default จะไม่มีการติดตั้ง แต่ถ้าต้องการติดตั้ง ให้พิมพ์ Y แล้วกดปุ่ม enter
ส่วน stack โดย default จะไม่มีการติดตั้ง แต่ถ้าต้องการติดตั้ง ให้พิมพ์ Y แล้วกดปุ่ม enter
ส่วน MSys2 ให้เลือกตาม default คือ Y (ติดตั้ง) ให้กดปุ่ม enter
จะมีการ download ข้อมูลที่จำเป็นและทำการติดตั้ง
เมื่อการติดตั้งในส่วนของ MinGW เสร็จสิ้นจะมีข้อความดังนี้
All done!

In a new powershell or cmd.exe session, now you can...

Start a simple repl via:
  ghci

Start a new haskell project in the current directory via:
  cabal init --interactive

Install other GHC versions and tools via:
  ghcup list
  ghcup install <tool> <version>

To install system libraries and update msys2/mingw64,
open the "Mingw haskell shell"
and the "Mingw package management docs"
desktop shortcuts.

If you are new to Haskell, check out https://www.haskell.org/ghcup/steps/
Press any key to exit
ให้กดปุ่มอะไรก็ได้เพื่อปิดหน้าต่างไป
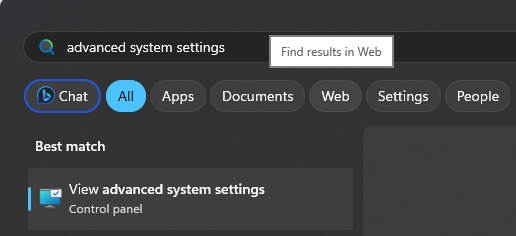
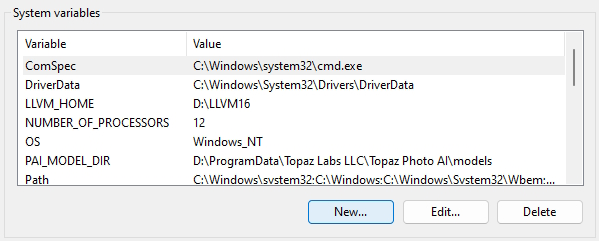
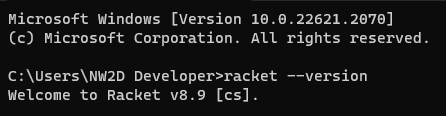
จากนั้นทดสอบว่า Windows เห็นตัว Compiler ของ Haskell Compiler หรือไม่ โดยทำการเปิด command prompt หรือ powershell แล้วพิมพ์ คำสั่ง
ghc --version
ถ้าสามารถใช้งานได้จะขึ้น information ดังนี้
Enjoy Learning